
LOVE IS BLINDS
Love is Blinds • September 6, 2023
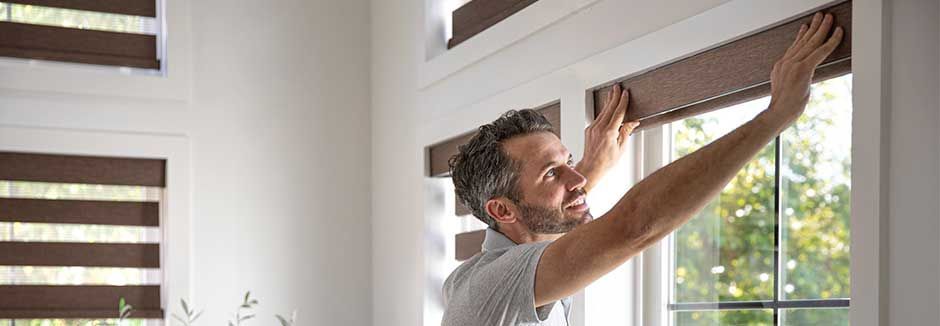
Mastering Window Treatment Measurements: A Professional Guide
TLDR;
To master
window treatment measurements you must measure each window individually with a steel tape measure, account for mounting style, and follow a consistent process for width, height, and depth. Inside mounts use the narrowest width and shortest height within the frame, while outside mounts add extra width and height for coverage and light control. Always double-check, note obstructions, and prepare clear records before ordering.
Why Precise Window Treatment Measurements Matter
Accurate measurements prevent expensive mistakes, ensure a proper fit, and create a polished look. When window coverings are sized correctly, they provide privacy, light control, and energy efficiency. Poor measurements lead to gaps, crooked installations, or wasted products. Shop Love Is Blinds emphasizes starting every project with precision so the final installation looks professional.
Pre-Measurement Preparation
Tools You Need
- Steel tape measure
- Pencil and notepad
- Level
- Step ladder
- Phone or camera to record windows
- Optional masking tape to mark placement
Inside Mount vs Outside Mount
Inside mount fits treatments within the window frame. It provides a clean, built-in appearance. Outside mount installs on the wall or trim, covering the frame completely.
- Inside mount requires sufficient depth
- Outside mount allows more flexibility, hides imperfections, and blocks more light
Setting Measurement Rules
- Follow manufacturer guidelines for deductions
- Add overlap when needed for privacy and light control
- Always measure to the nearest 1/8 inch
- Record each measurement separately, even if windows appear the same
Measuring Dimensions: Width, Height, and Depth
Measuring Width
Inside mount: measure at top, middle, and bottom. Record the narrowest measurement.
Outside mount: measure window width, then add 2 to 3 inches on each side. This reduces light gaps.
Measuring Height
Inside mount: measure from the top of frame to sill at left, center, and right. Record the shortest measurement.
Outside mount: measure from headrail location to sill or floor. Adjust based on style choice.
- Sill length stops at window ledge
- Floor length falls to the floor
- Puddling style extends beyond floor for dramatic effect
Measuring Depth
Depth determines if the treatment fits properly. Different products require specific clearances.
- Blinds: require a few inches of recess
- Shutters: need more depth for frame and tilt clearance
- Motorized systems: extra space for motor housing
Checking Squareness
Measure diagonals from corner to corner. If lengths differ, the frame is out of square.
- Small differences can be managed with adjustments
- Large differences often require outside mount
Accounting for Obstructions
Note anything that interferes with mounting or operation.
- Window cranks
- Handles
- Trim or molding
- Radiators or baseboards
Document these clearly to avoid issues during installation.
Measuring for Special Window Types
Bay Windows and Corner Windows
- Break measurements into sections
- Record width and height of each pane
- Allow for returns and angles
Arched and Circular Windows
- Use a template for curved tops
- Measure widest and tallest points
- Confirm with manufacturer for exact requirements
Stacked or Transom Windows
- Record height and width of each segment
- Decide if coverings will be individual or combined
- Plan for stacking space with vertical blinds or panel systems
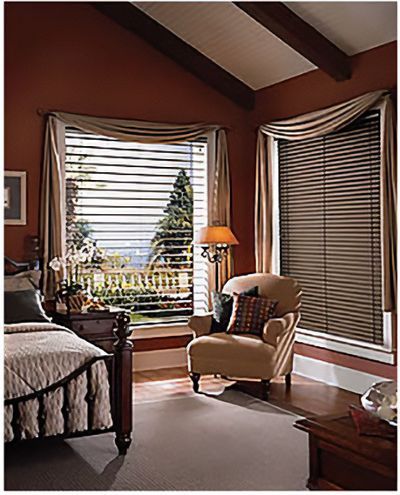
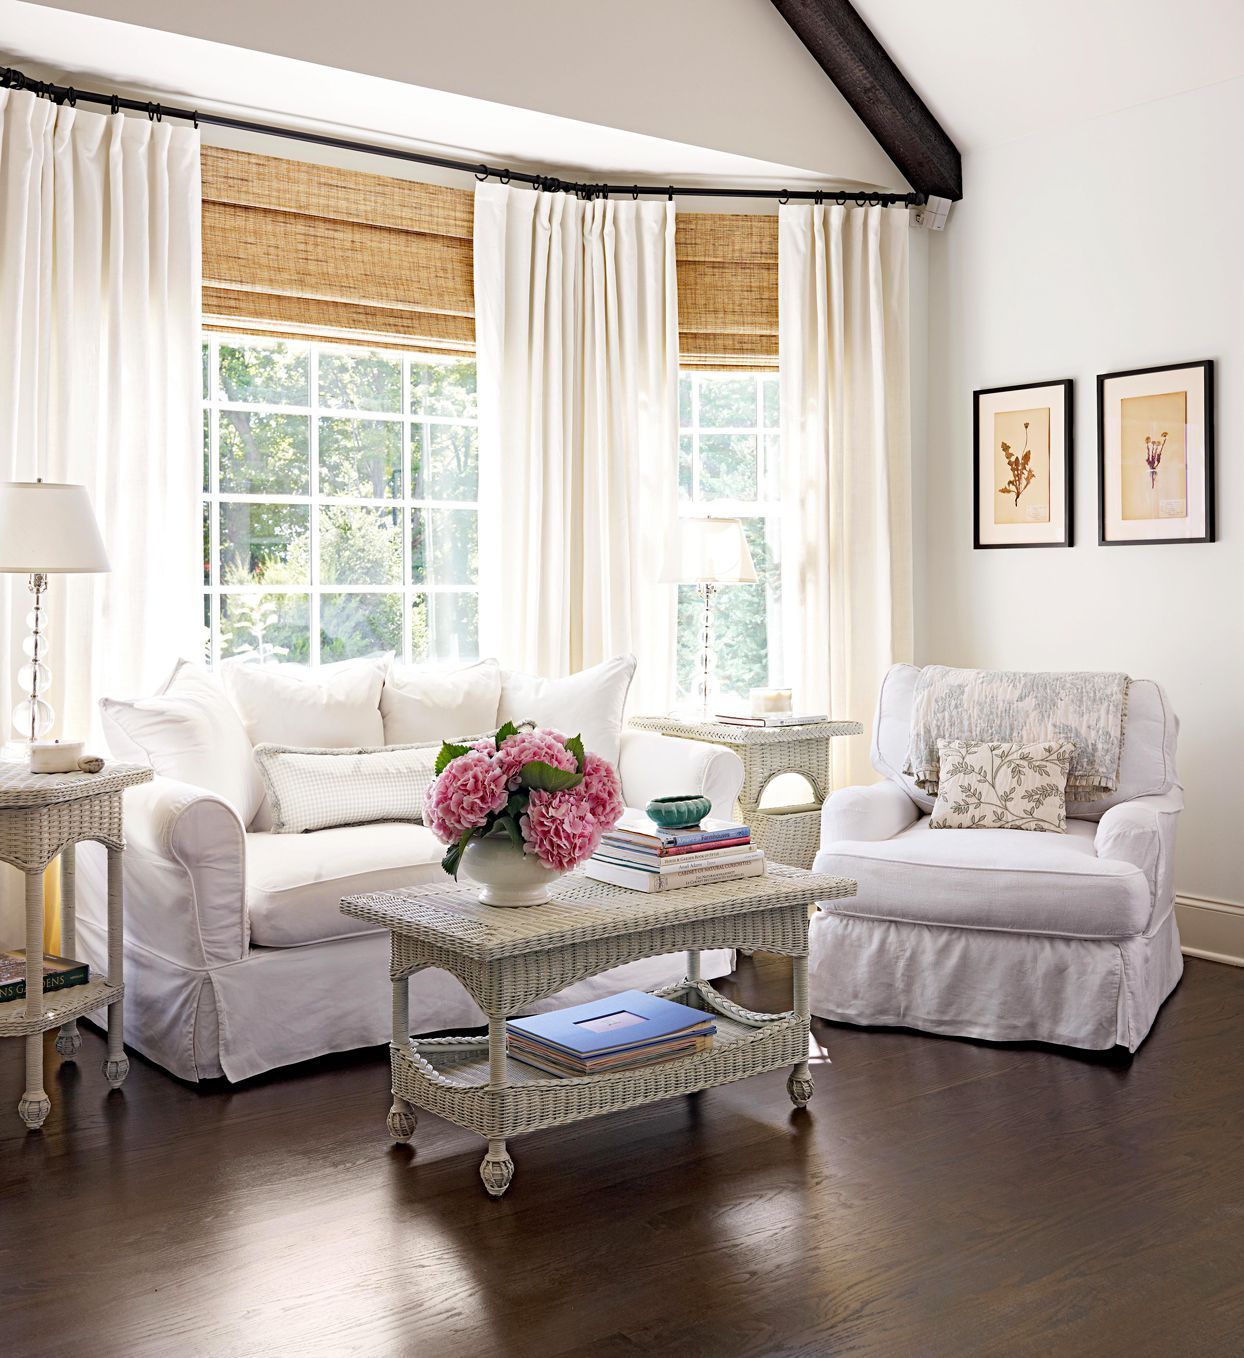
Layered Treatments
- When combining
shades with drapery, measure both separately
- Ensure overlap for light blocking
- Plan for stacking width of drapery panels
Motorized Systems
- Check clearance for motor housing
- Plan for wiring or battery compartments
- Record depth with extra precision
Common Mistakes and How to Avoid Them
Top Measuring Errors
- Swapping width and height
- Measuring once and assuming accuracy
- Rounding incorrectly
- Ignoring frame depth
- Measuring only one window in a room
How to Verify Measurements
- Measure twice
- Sketch each window with notes
- Mark dimensions on photos
- Compare similar windows for consistency
Product Limitations
Each manufacturer applies deductions differently. Some subtract from width to allow smooth operation. Others require minimum sizes. Review specifications before finalizing orders.
What to Do if Measurements Don’t Fit
- Use outside mount when frame is too shallow
- Add filler strips for extra depth
- Order custom sizes when standard does not apply
Recording and Preparing for Installation
Creating a Measurement Record
Organize details in a table:
- Window ID
- Mount type
- Width
- Height
- Depth
- Notes about obstructions or style choices
Communicating With Vendors
- Always provide measurements as Width x Height x Depth
- Specify inside or outside mount
- Include notes about clearance or obstructions
Pre-Installation Checks
- Compare delivered product to recorded measurements
- Dry-fit brackets before final mounting
- Confirm alignment with level
How Measurements Affect Installation
- Overlap affects bracket placement
- Depth affects mounting location
- Squareness affects alignment
Window Measurement Guide for Specific Treatments

Blinds
- Require accurate inside measurements
- Small deductions applied by manufacturer
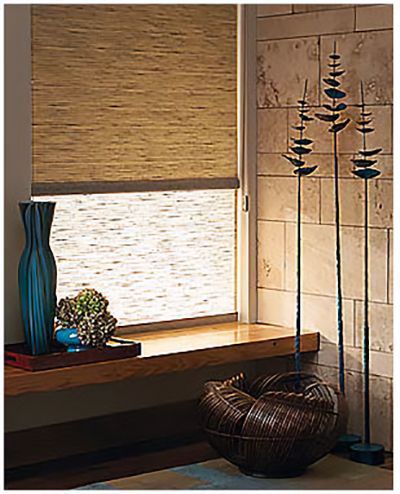
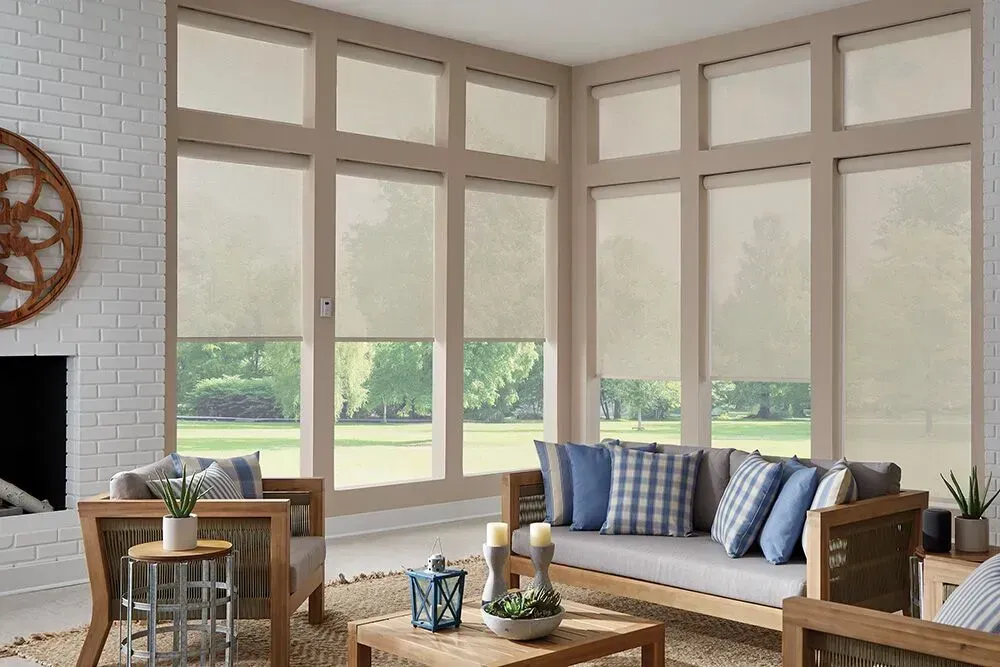
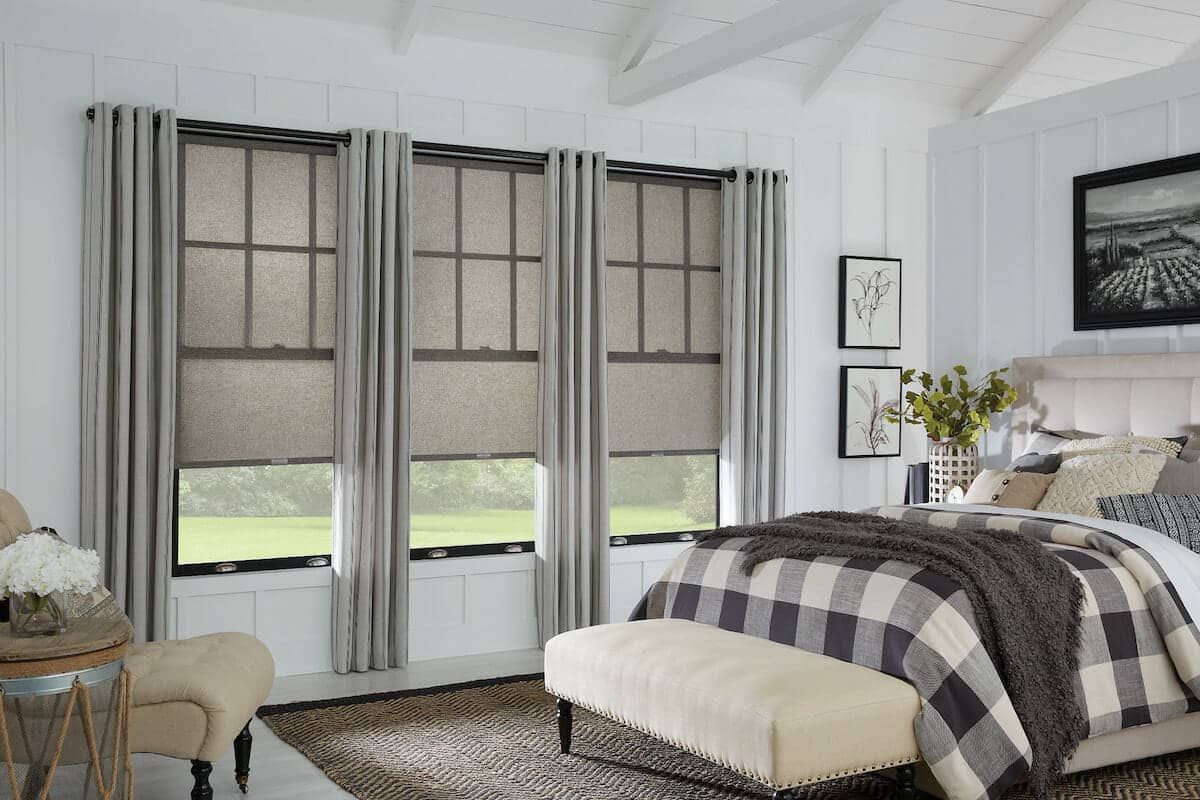
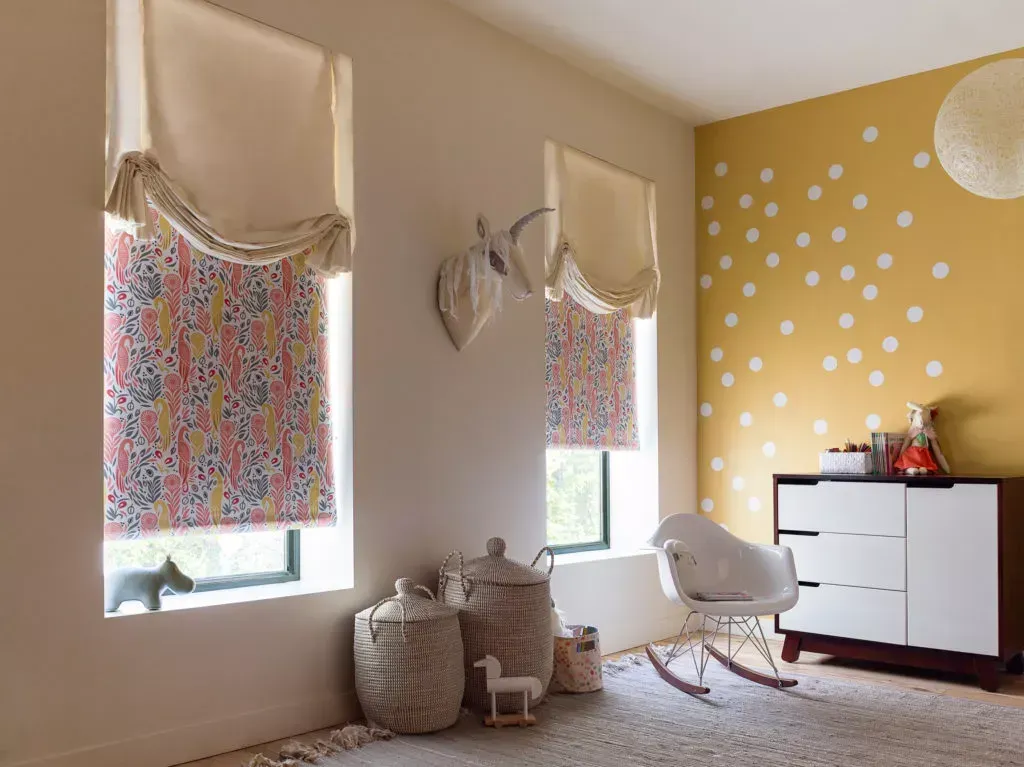
Shades
- Roller shades need extra width for full coverage
- Roman shades require height accuracy for smooth folds
Shutters
- Depth is critical
- Squareness determines inside vs outside mount
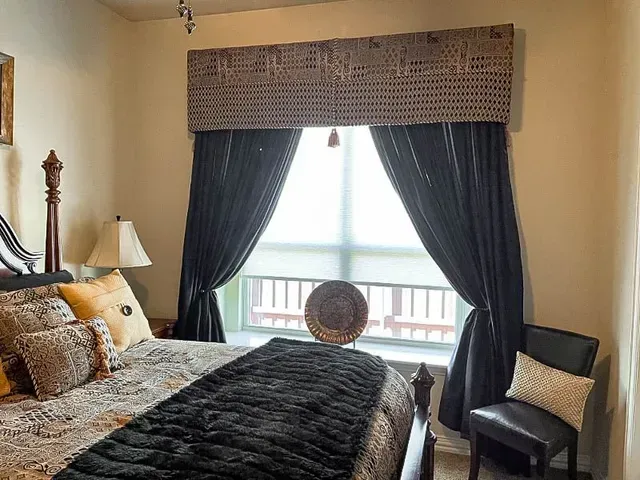
Drapery
- Height sets style
- Fullness depends on width multiple
- Stacking width must be planned. For tall or dramatic window designs, many homeowners choose ceiling-mounted drapery. Our guide to the best ceiling-mounted curtains explains how to select options that fit properly and enhance your space.
FAQs About Window Treatment Measurements
Should I round up or down?
Round to the nearest 1/8 inch. Never round up unless specified by product instructions.
Can I measure my own windows?
Yes, with careful preparation. Many homeowners measure successfully using steel tape and consistent rules.
What if windows are not square?
Use an outside mount for a balanced look.
How much overlap should I add for outside mount?
Add at least 2 to 3 inches on each side and above the window.
Can I reuse old rods or brackets?
Measure them separately. Old hardware often does not match new product requirements.
Do different treatments require different methods?
Yes. Blinds, shades, shutters, and drapery each have unique measurement needs.
How do I handle metric and imperial units?
Stay consistent. Use one system only throughout the process.
When should I allow extra length?
For puddling drapery styles or to ensure full floor coverage.
Professional Measurement Tips for Accuracy
- Use a steel tape measure, never fabric tape
- Record each window separately
- Double-check every dimension
- Note depth, obstructions, and mounting style
- Ask vendors for product-specific measuring instructions
Working With Shop Love Is Blinds
Shop Love Is Blinds helps clients measure, order, and install treatments with precision. Our process ensures that every covering fits properly and enhances the space. Whether measuring for blinds, shades, shutters, or layered treatments, our team provides professional guidance from start to finish.
Final Thoughts on Measuring Window Coverings
Accurate measurements form the foundation of successful window treatment projects. Measuring width, height, depth, and noting obstructions ensures products fit and function correctly. By following a structured process, verifying results, and recording details clearly, you avoid costly errors. Shop Love Is Blinds emphasizes precision at every stage so clients enjoy beautiful, functional, and long-lasting results.
Need to setup a Repair Appointment?

Avoid costly measuring mistakes when ordering blinds or shades. Learn expert tips from Shop Love Is Blinds for a perfect, custom window fit.

Discover the hidden benefits of motorized window treatments—boost energy efficiency, safety, and comfort in your home with Shop Love Is Blinds.

Cut energy bills and go green with eco-friendly window treatments in Missouri. Shop Love Is Blinds offers stylish, sustainable solutions.
Learn how to mix and match window treatments without clashing. Get expert tips from Shop Love Is Blinds for a stylish, cohesive look.
Discover the top 5 versatile window treatments for any home with style, privacy, and energy efficiency. Shop Love Is Blinds expert picks.
Protect your décor from sun damage. Learn how to pick fade-resistant window treatments for lasting color and UV protection.
Discover the easiest window treatments to clean and maintain—perfect for busy homes. Learn which styles save time and resist dust, moisture, and allergens.
Discover the top signs it's time to replace your blinds—from damage to outdated style—and explore smarter, safer, energy-efficient options today.
Discover the best window coverings for privacy without losing natural light—explore expert-approved, stylish, and functional options for every room.
Custom window treatments offer better fit, style, and energy savings than store-bought. Discover which option truly adds value to your home.