LOVE IS BLINDS
How to Avoid Common Measuring Mistakes When Ordering Blinds or Shades
TLDR;
To avoid common measuring mistakes when ordering blinds or shades, always use a steel tape measure, measure each window individually in multiple spots, and record the smallest width and height for inside mounts or add extra overlap for outside mounts. Double-check all measurements and account for obstructions and window depth to ensure a precise, custom fit.
Why Accurate Measurement Matters for Blinds and Shades
Incorrect measurements lead to blinds that don’t fit, leave gaps, or look uneven. Even a small error can ruin the look of your window and waste money. At Shop Love Is Blinds, we’ve seen how careful measuring can make the difference between a perfect installation and a frustrating do-over.
Measuring blinds is not complicated, but it requires precision. Your goal is to match the type of mount, material, and space available.
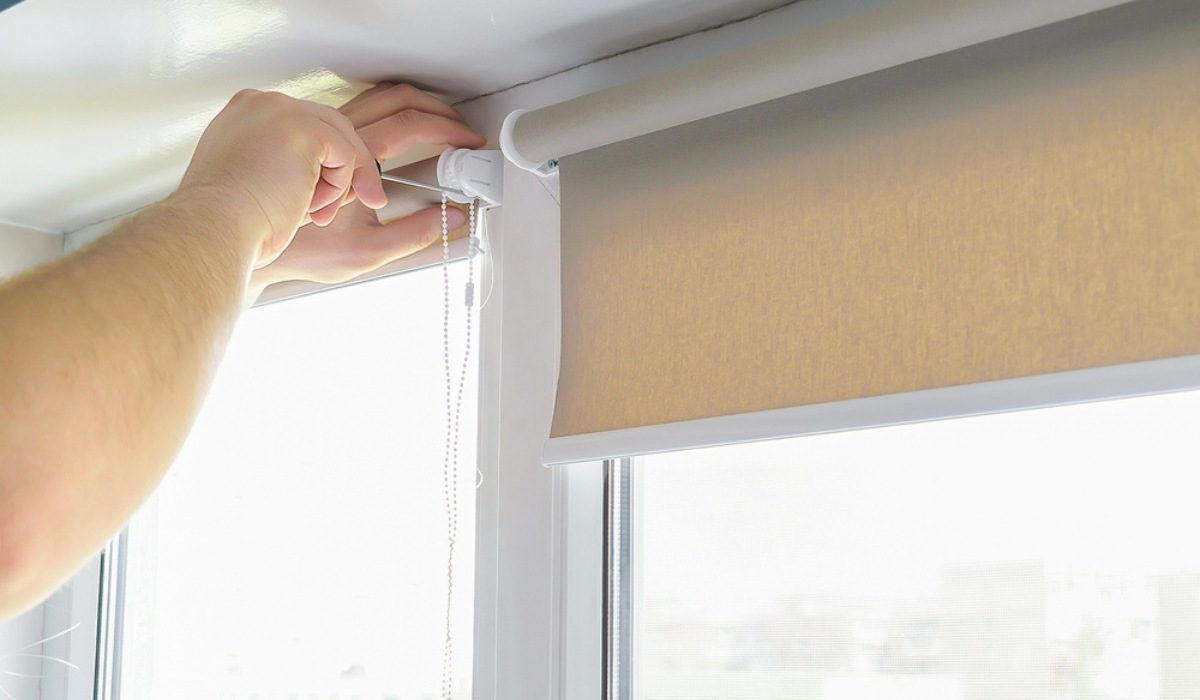
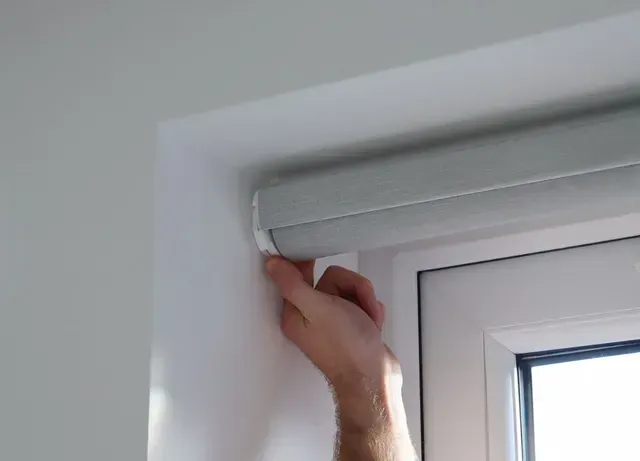
Understanding Mount Types Before Measuring
Before you take out your tape measure, know whether you’re installing inside mount or outside mount blinds.
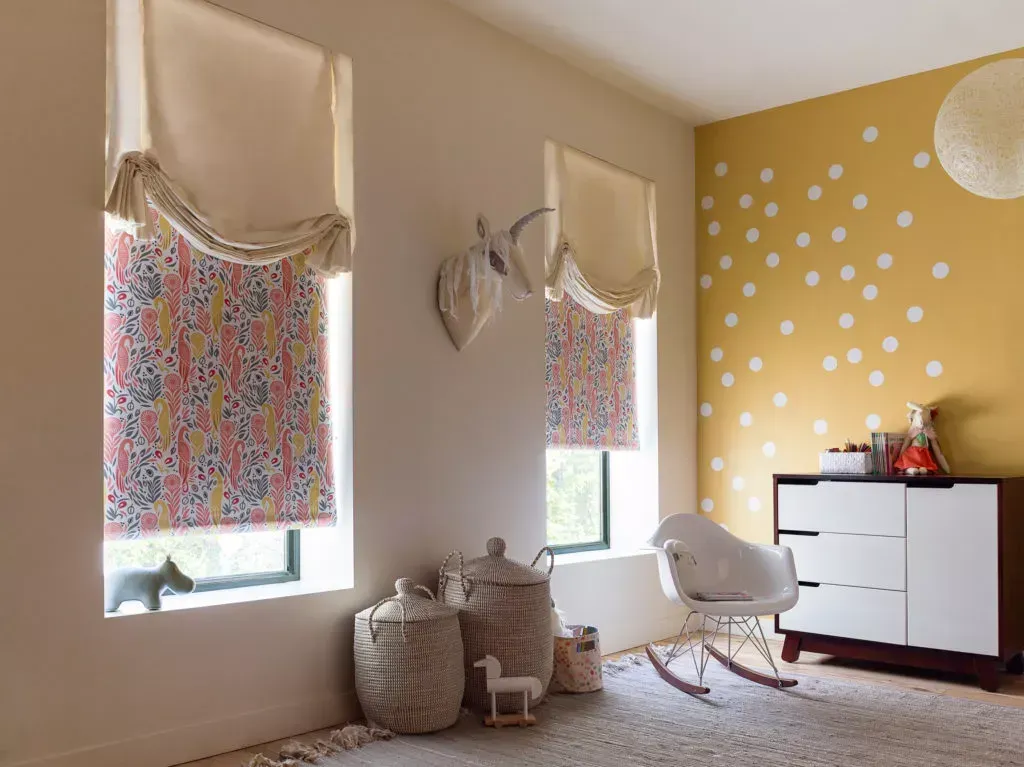
Inside Mount:
- Fits inside the window frame.
- Gives a clean, streamlined look.
- Requires exact measurements to ensure the
blinds fit snugly.
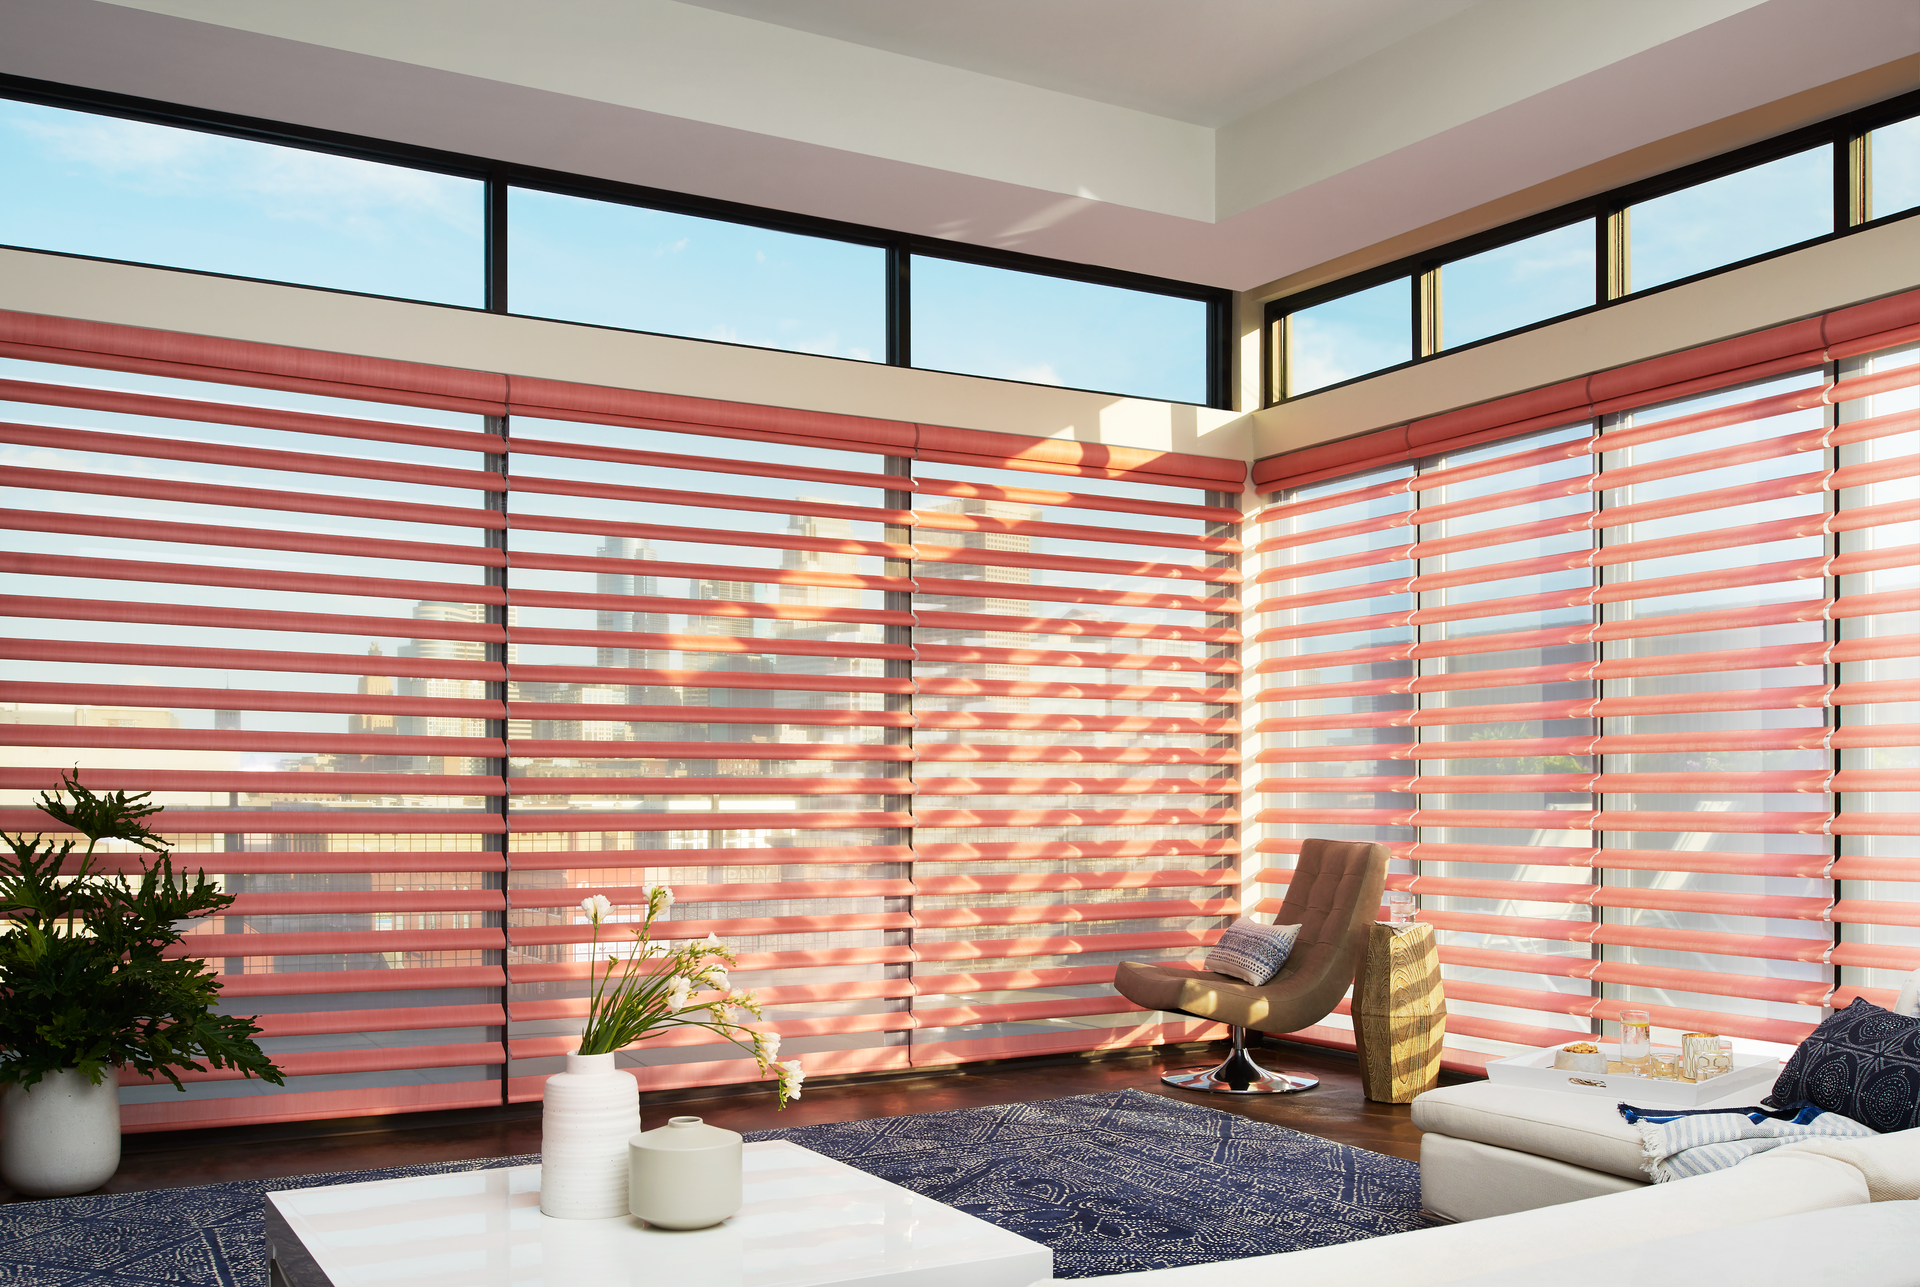
Outside Mount:
- Installed on the wall or molding outside the window frame.
- Ideal for smaller or uneven frames.
- Allows for better light control and privacy with extra coverage.
Your measuring method changes depending on which mount you choose, so decide this first.
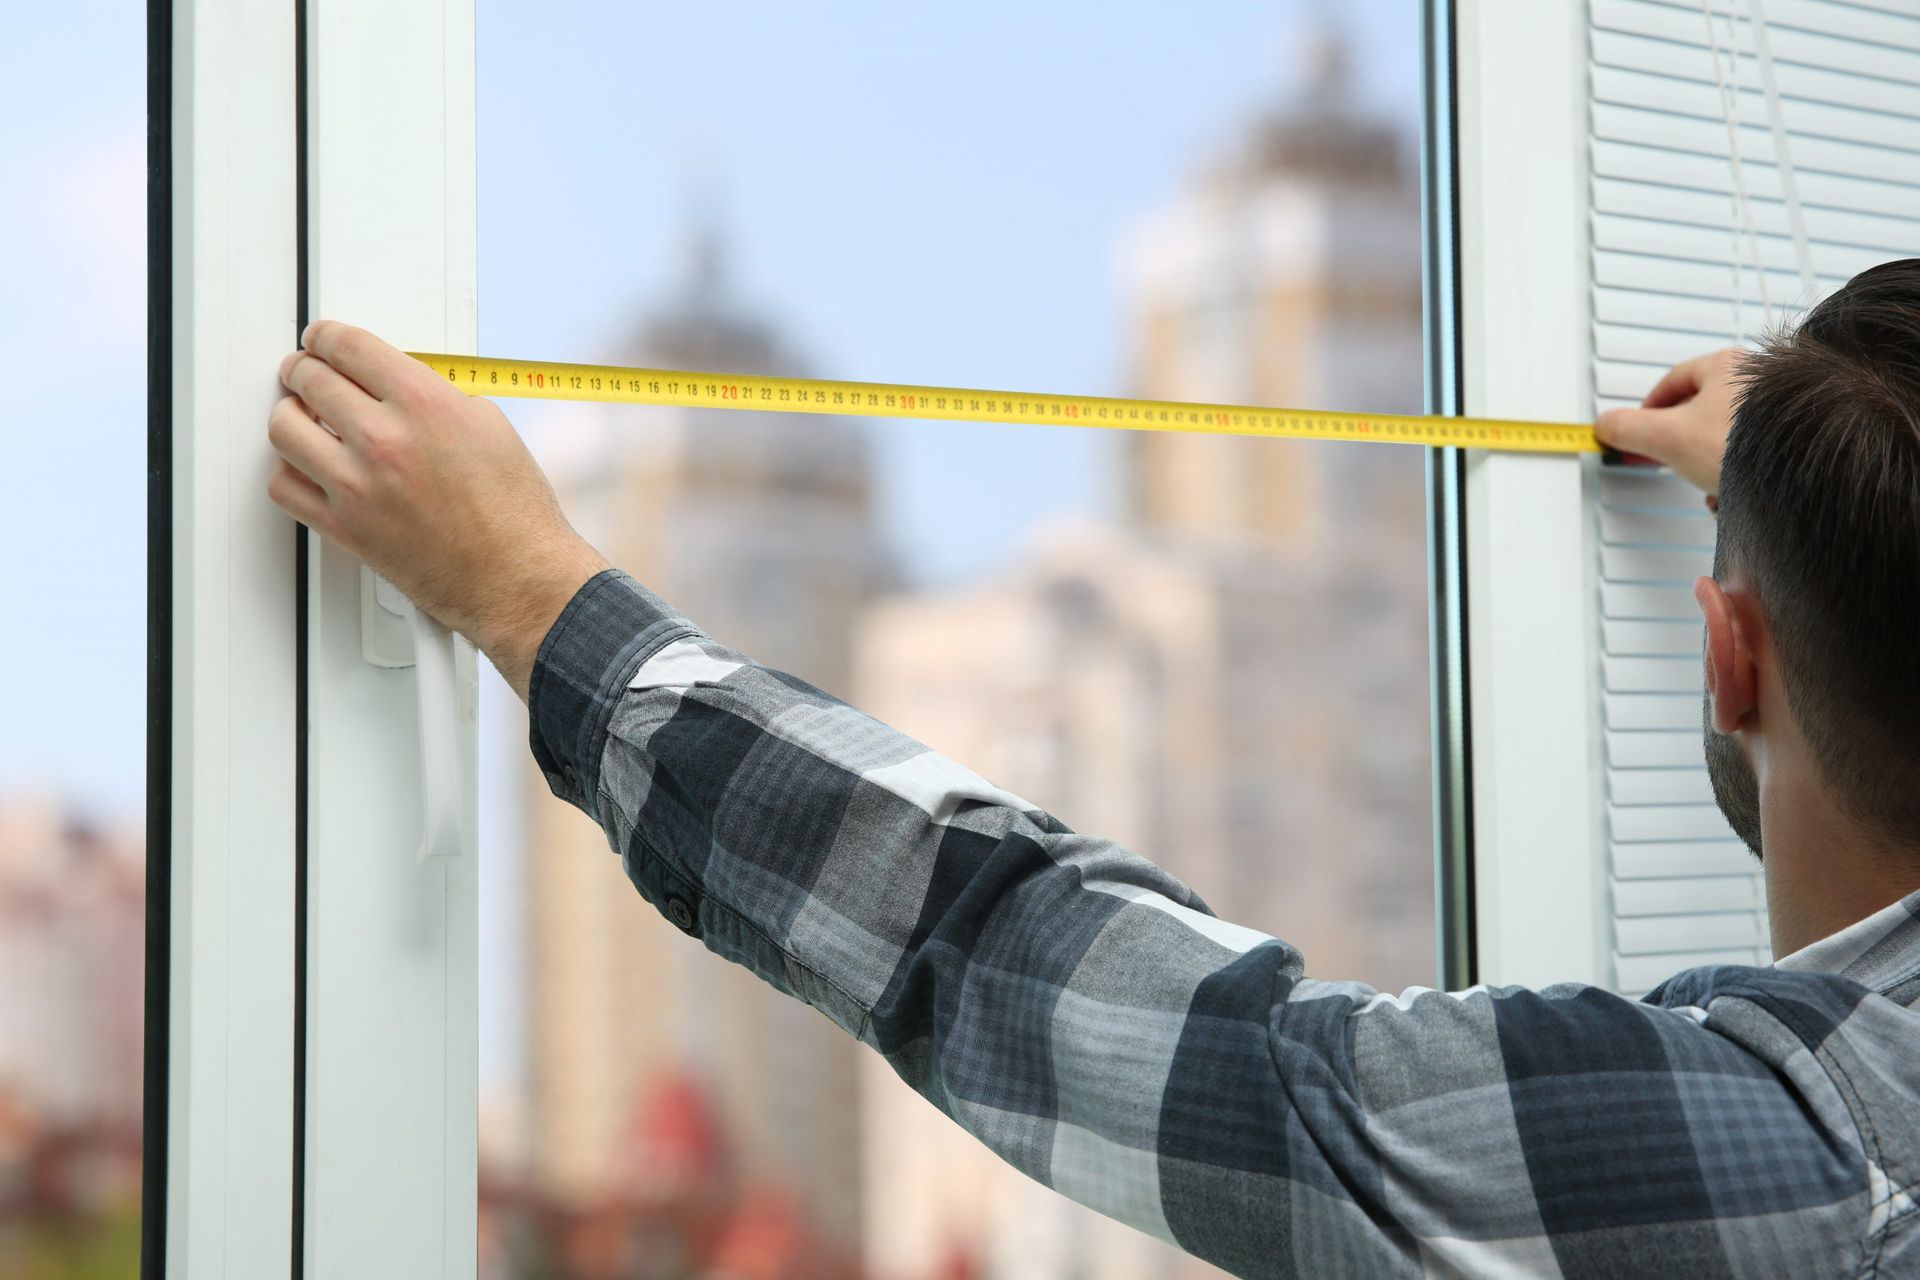
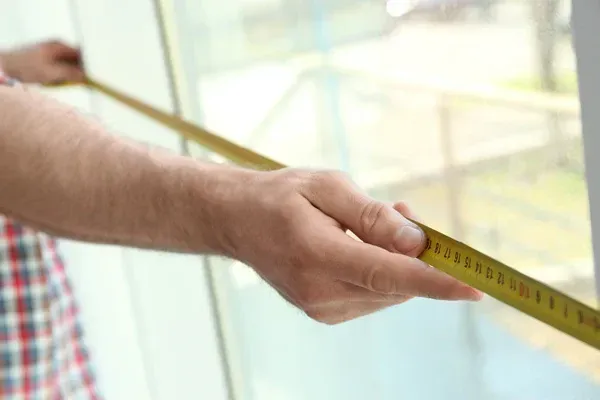
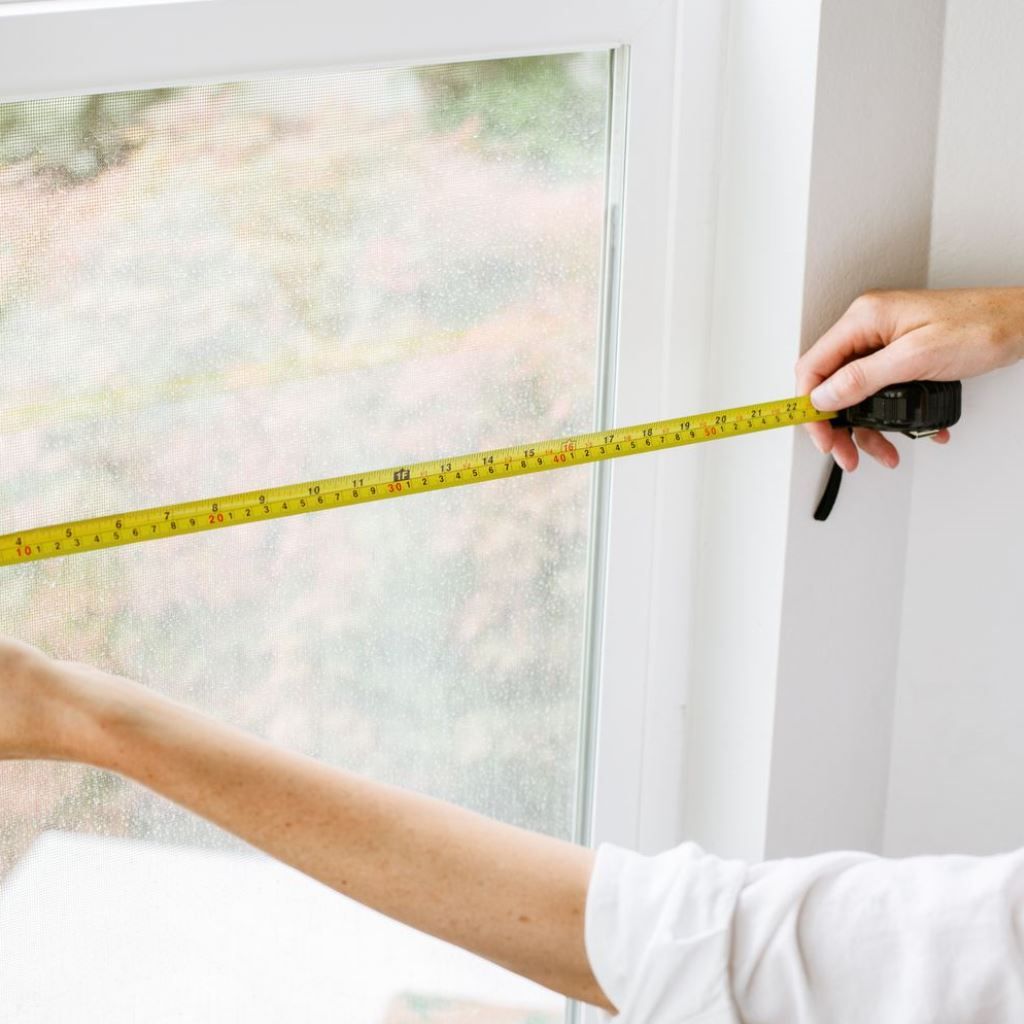
Essential Measuring Tools and Preparation
Accuracy starts with the right tools. Avoid using flexible or fabric measuring tapes. Always rely on a steel tape measure for consistent results.
Checklist before you start:
- Steel tape measure
- Pencil and notepad for recording measurements
- Ladder for tall windows
- A clear view of the entire window (move furniture or décor out of the way)
At Shop Love Is Blinds, we recommend labeling each window by room name so you don’t confuse measurements later.
Step-by-Step Guide: Measuring for Inside Mounts
Inside mounts are popular because they highlight the window’s frame. To ensure a precise fit:
- Measure the Width
- Take three measurements: top, middle, and bottom.
- Record the smallest width. This ensures the blind fits without scraping.
- Measure the Height
- Measure left, center, and right sides.
- Record the longest height. This helps the blind cover the full window opening.
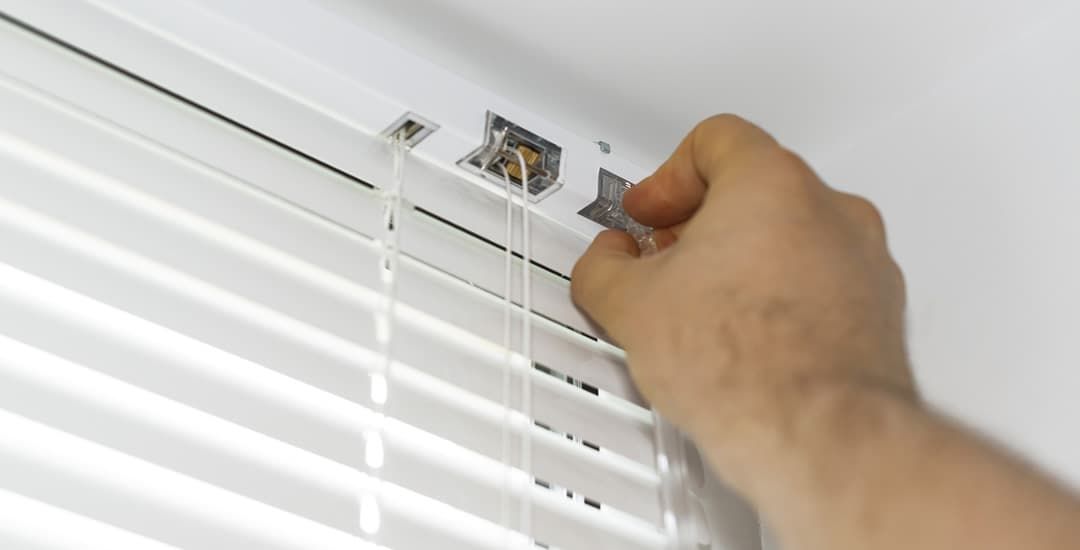
- Check the Window Depth
- Make sure your frame is deep enough to accommodate the blind.
- Compare the measurement to the manufacturer’s depth requirement.
- Account for Obstructions
- Look for handles, cranks, or trim.
- Adjust measurements so blinds won’t hit or block them.
Recording your measurements as
width x height helps avoid confusion later.
Step-by-Step Guide: Measuring for Outside Mounts
Outside mounts give you more flexibility and can hide unattractive window frames. Follow these steps:
- Measure the Width
- Measure the area you want to cover, not the window itself.
- Add at least 2 to 3 inches on each side to block extra light.
- Measure the Height
- Start from the top where you’ll install the bracket.
- Extend the measurement several inches below the window sill for full coverage.
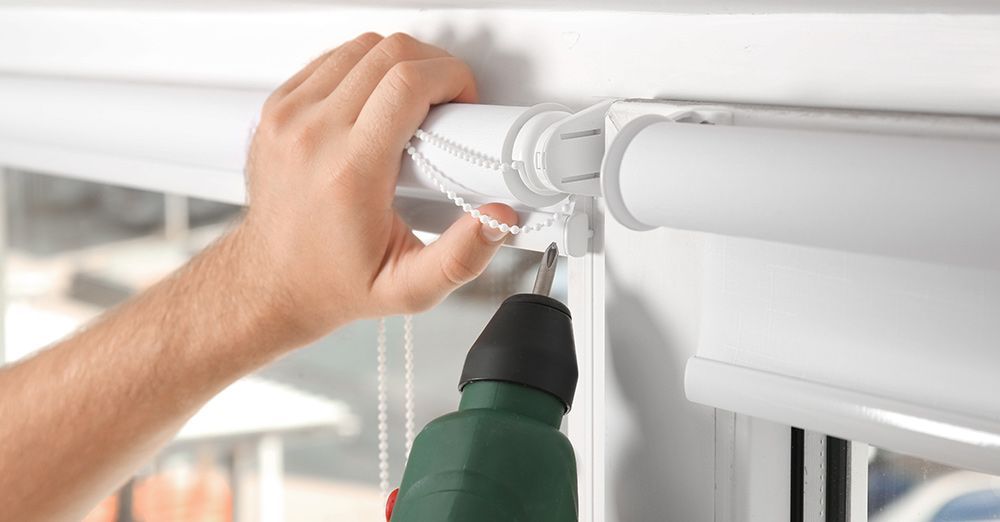
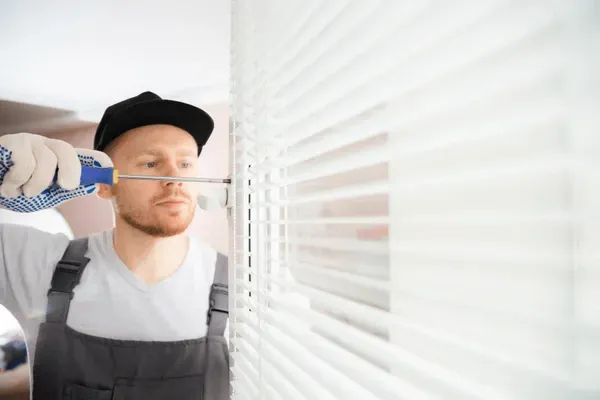
- Mark Installation Points
- Use a pencil to mark where brackets will go.
- Double-check level alignment for a straight appearance.
Adding overlap gives your blinds a finished, professional look while preventing light leaks.
Common Measuring Mistakes and How to Avoid Them
Even small errors lead to poor results. Avoid these common mistakes:
- Assuming all windows are the same size
Measure every window separately, even if they look identical. - Mixing up width and height
Always record width first, then height. - Ignoring obstructions
Handles, cranks, and trim can interfere with proper installation. - Using the wrong tape
Cloth or flexible tapes stretch and cause inaccurate results. - Not double-checking measurements
Measure twice before you order. A second check can prevent costly replacements.
At Shop Love Is Blinds, we always recommend keeping your notes organized. Mark each window by room name and mount type.
Understanding Window Depth and Clearance
Window depth affects both function and aesthetics. A deep window frame allows for recessed installation. A shallow frame might require surface mounting.
What to consider:
- Minimum depth requirement for your chosen blinds or
shades.
- Clearance for tilt or lift mechanisms.
- Overlap needed for outside mounts to cover trim or molding.
Depth also impacts how much your blinds will protrude from the wall. The right depth creates a clean, flush finish.
Measuring Special Window Shapes
Not all windows are standard rectangles. Arched, angled, or bay windows need extra attention.
Tips for unique windows:
- For arched windows, measure the straight portion first.
- For bay windows, measure each section separately and label carefully.
- For angled or trapezoid windows, provide the angle dimensions to your supplier.
When in doubt, Shop Love Is Blinds offers professional measuring assistance for non-standard windows.
Correcting Measuring Errors Before Ordering
If you realize a mistake after measuring, fix it before placing your order. Compare your notes and confirm you’ve used the correct format (width x height). If any measurement seems off, recheck it.
For example:
- If two measurements vary by more than ¼ inch, remeasure the window.
- Check if you mixed up inside and outside mount measurements.
- Ensure you’ve added overlap for outside mounts.
Accurate measurements save time and prevent costly reorders.
Why Re-measuring is Always Worth It

Re-measuring might feel repetitive, but it’s the best safeguard against error. The difference between a perfect and poor fit often comes down to a fraction of an inch. If your current shades or window coverings are damaged, outdated, or no longer function smoothly, it may also be a good time to learn when to replace blinds before investing in new measurements or custom orders.
Re-measure checklist:
- Use the same steel tape measure for consistency.
- Confirm window type and mounting preference.
- Verify each recorded measurement matches its labeled window.
At Shop Love Is Blinds, we suggest you take all measurements twice, ideally on different days, to catch any recording errors.
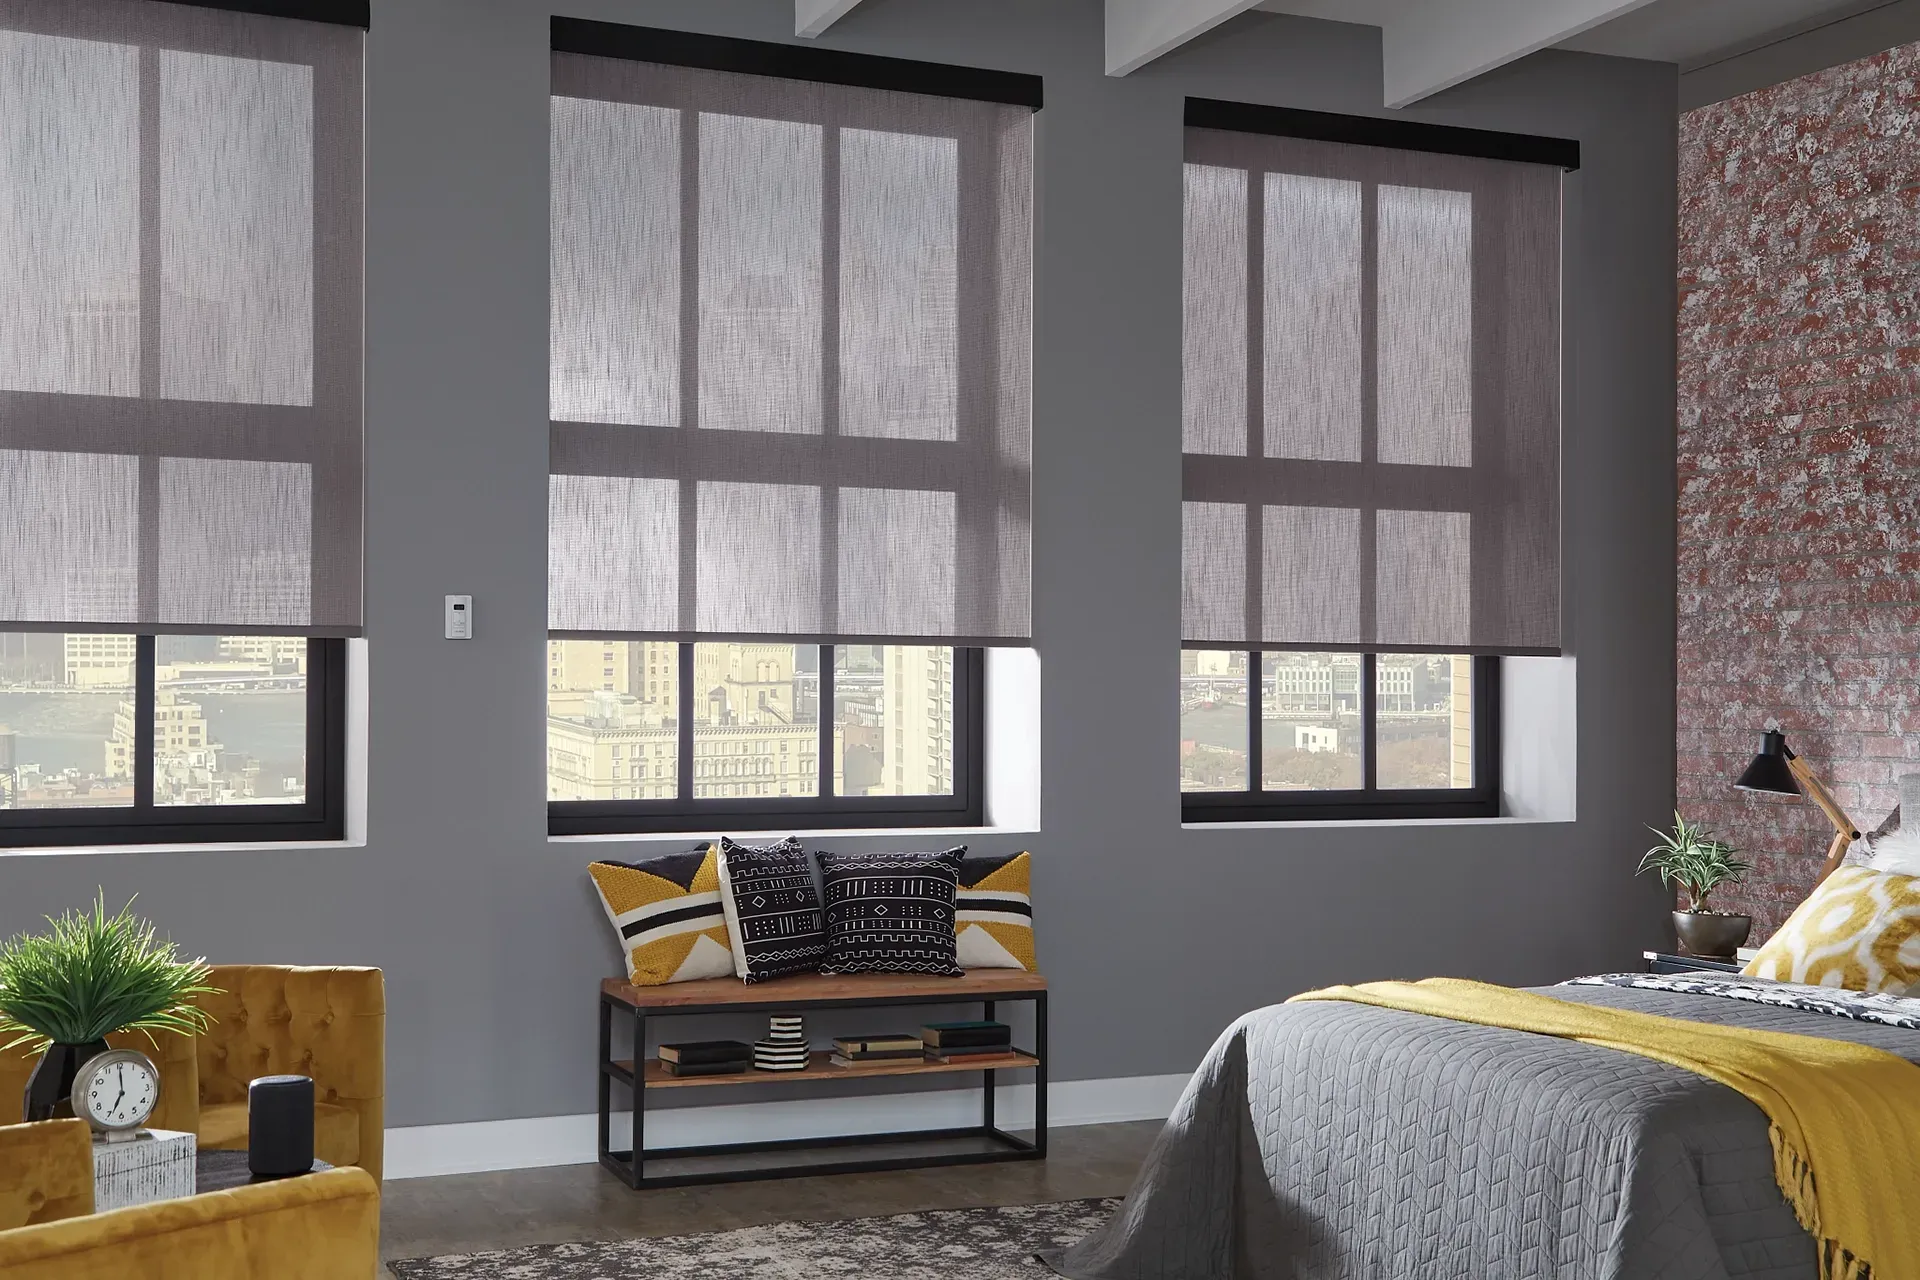
Accounting for Light Gaps and Privacy
Light gaps can appear when blinds are too narrow or unevenly installed. To minimize gaps:
- Choose outside mounts for better light blocking.
- Add extra width for full side coverage.
- Check alignment carefully during installation.
Privacy concerns also depend on the fabric type. For example, light-filtering shades may allow silhouettes, while blackout shades offer complete privacy.
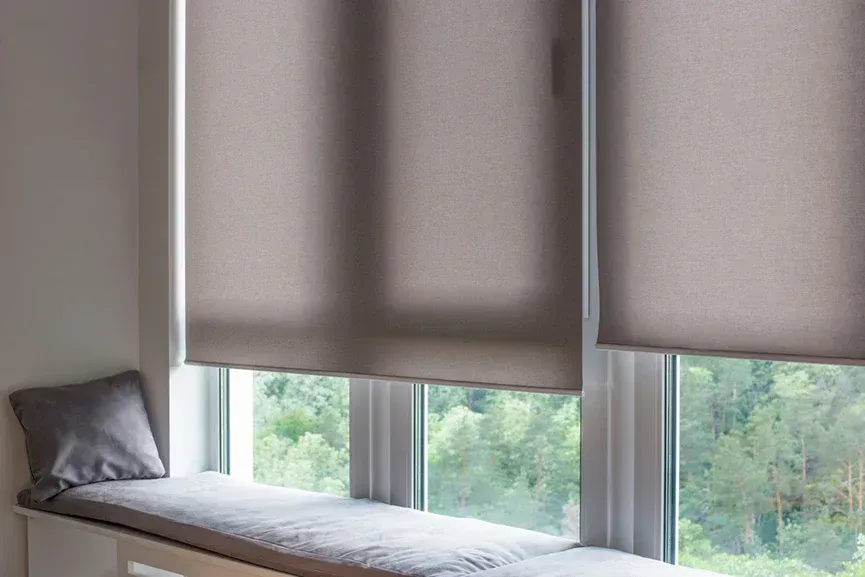
How Material and Style Affect Measurement
Different materials require slightly different measuring considerations.
For example:
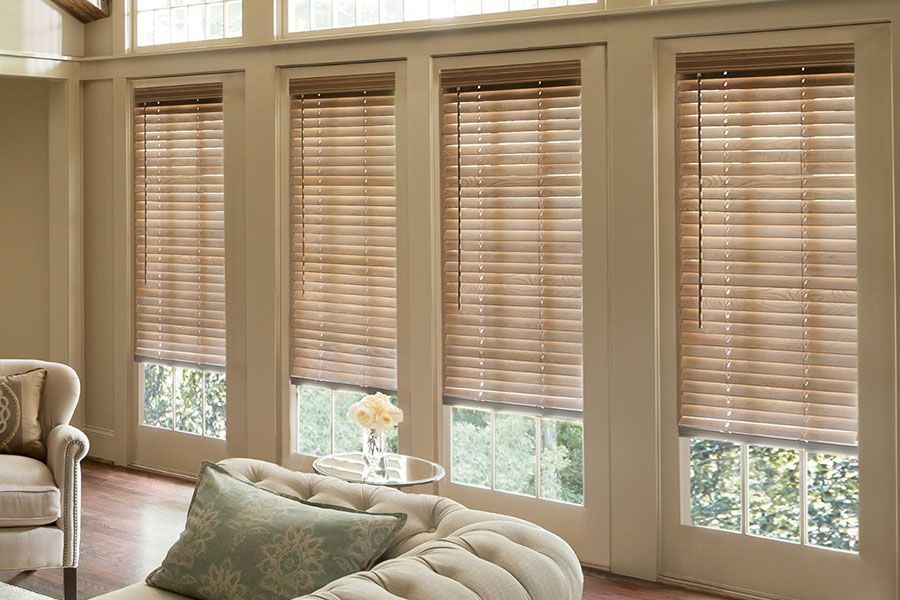
- Wood blinds need exact fitting because of their rigid structure.
- Fabric shades can allow minor flexibility.
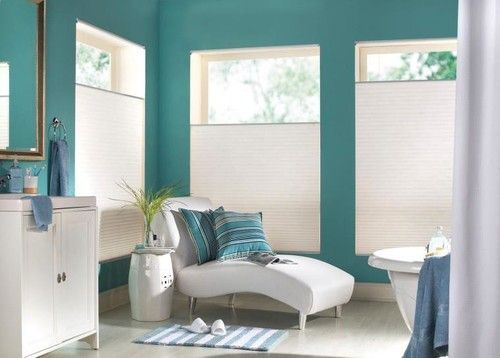
- Cellular shades require correct depth to fold neatly.
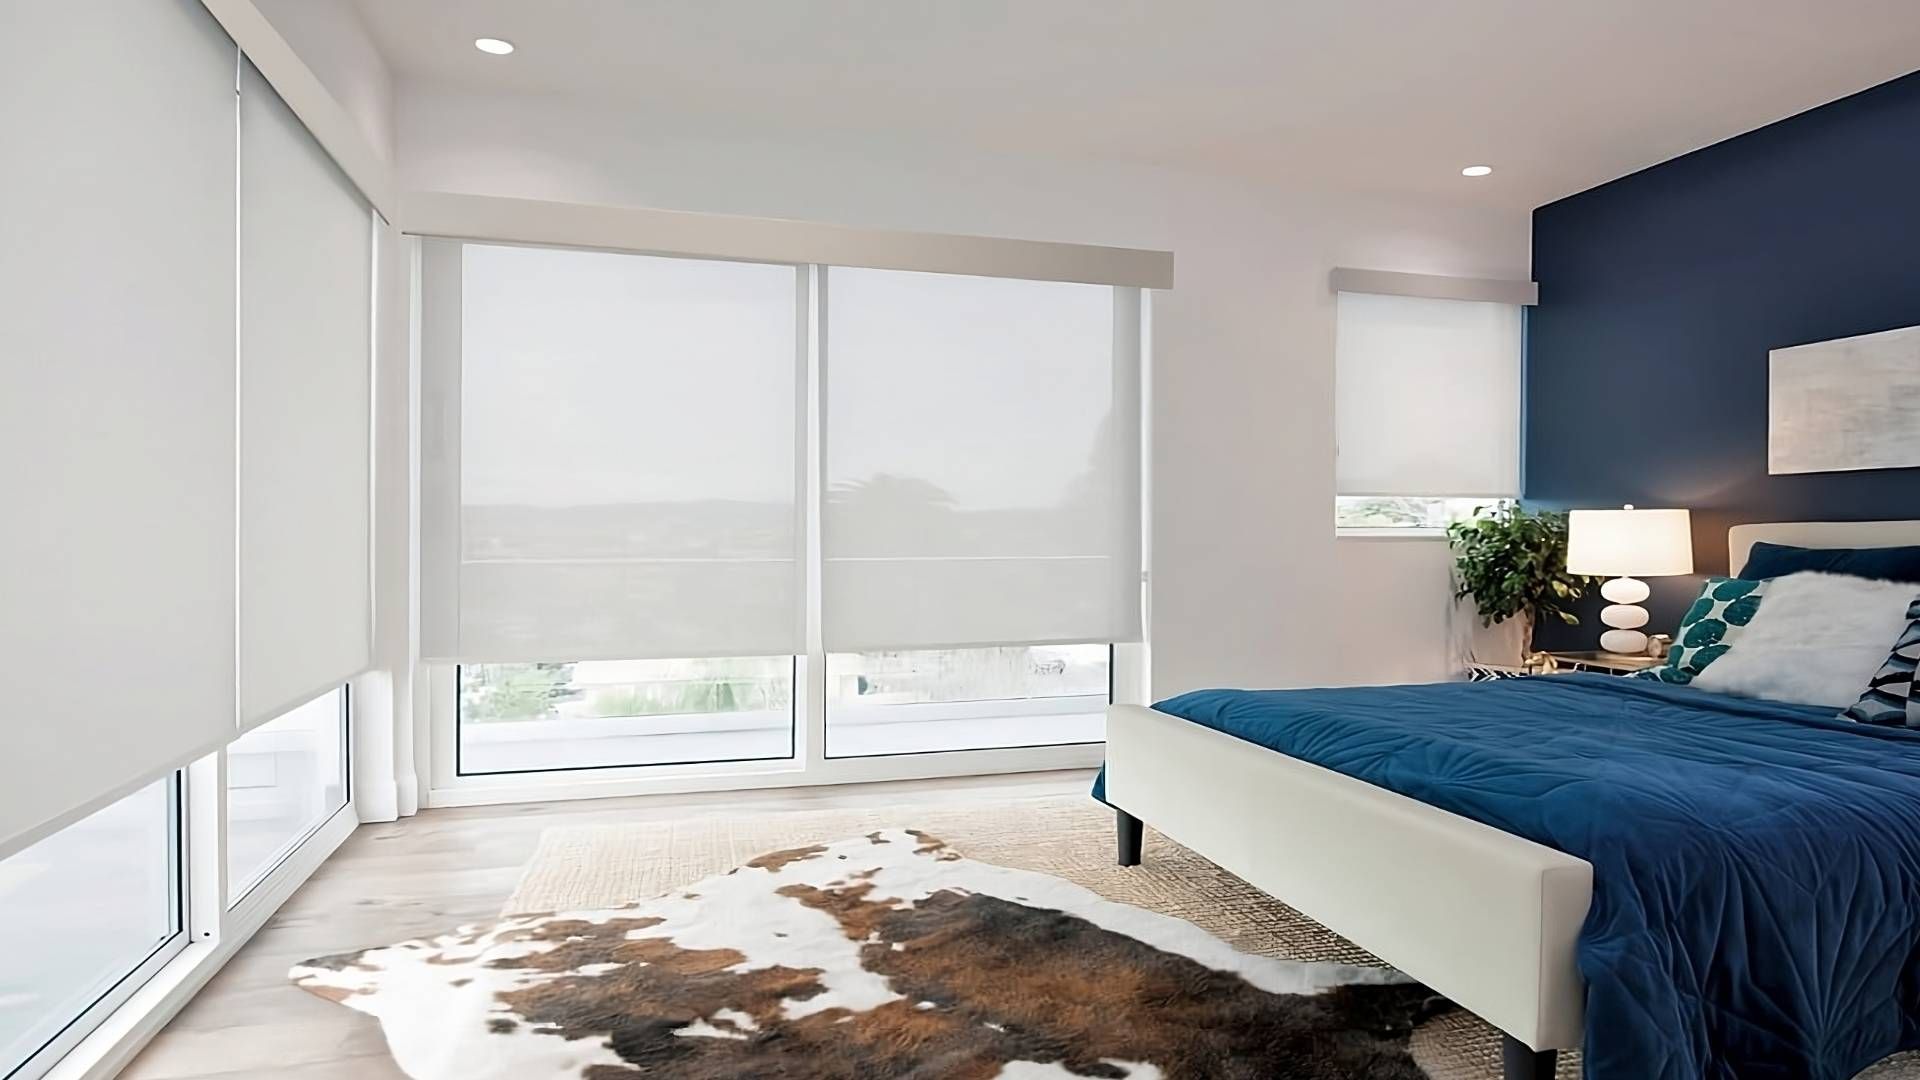
- Roller shades need extra clearance for brackets.
Material choice affects both the final look and the margin of error you can tolerate.
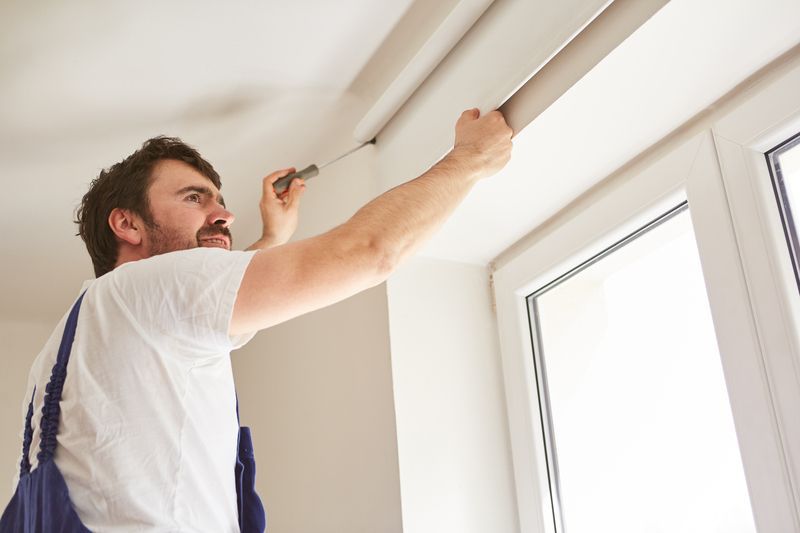
When to Seek Professional Help
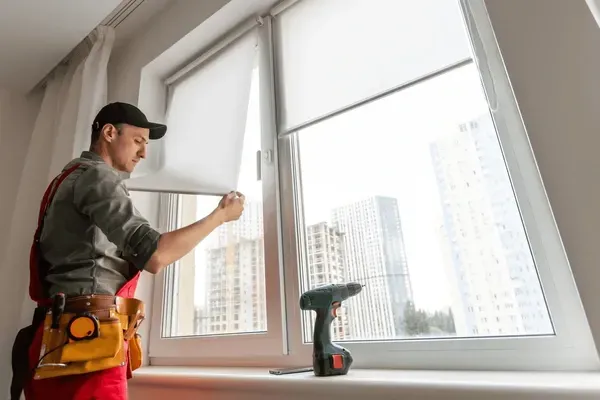
If your windows are unusually shaped, out of square, or located in hard-to-reach places, professional measurement is a smart investment.
Shop Love Is Blinds offers expert measuring and installation services to guarantee accuracy and save time. Our team uses specialized tools to measure for complex or oversized windows.
Professional help ensures:
- Correct fitting for all mount types.
- Accurate measurements for custom shades.
- Fewer returns or refits.
Ensuring a Perfect Fit with Custom Blinds
Custom blinds require precise measurements since they’re made to order. Any error becomes permanent once production starts.
Before submitting custom orders:
- Review each measurement against the manufacturer’s guide.
- Confirm mount type, control position, and installation style.
- Contact Shop Love Is Blinds if you need expert guidance before ordering.
Custom-fit blinds enhance both the visual appeal and energy efficiency of your home.
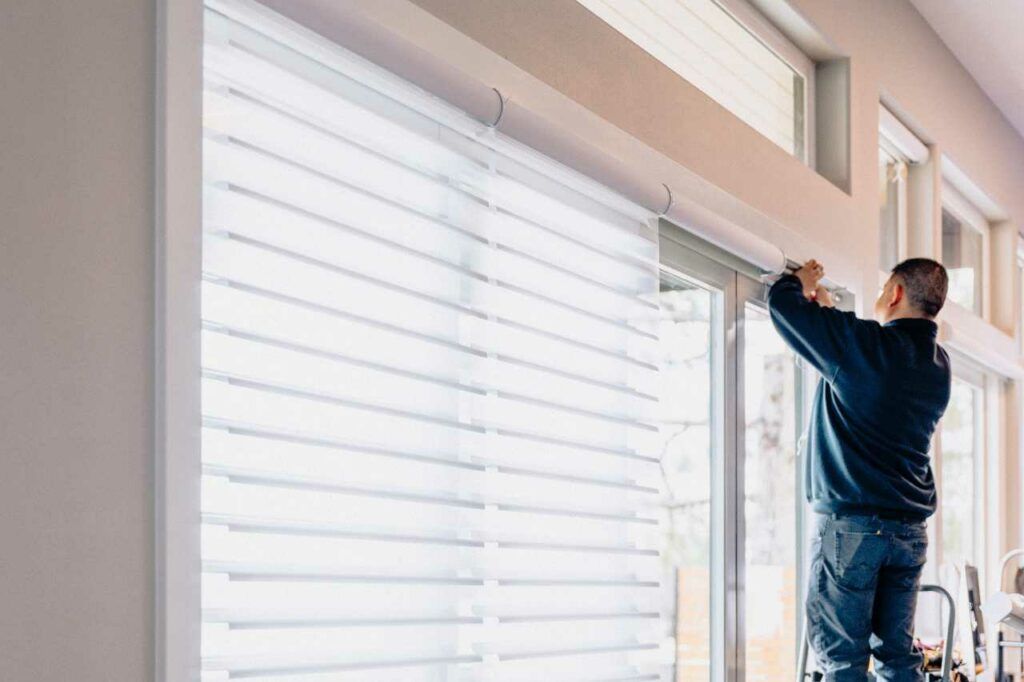
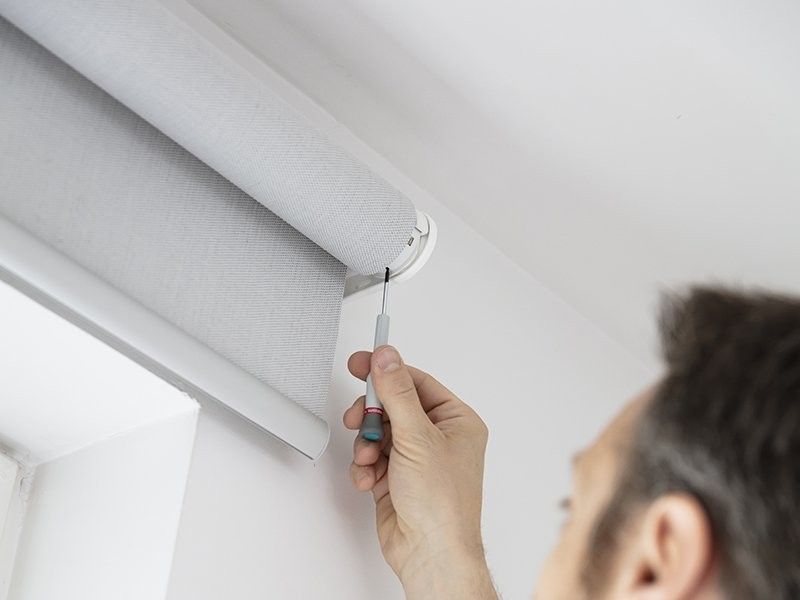
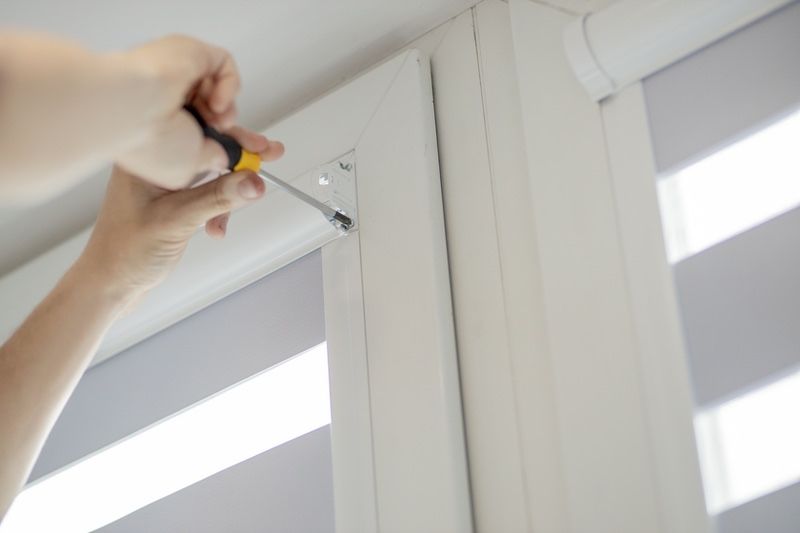
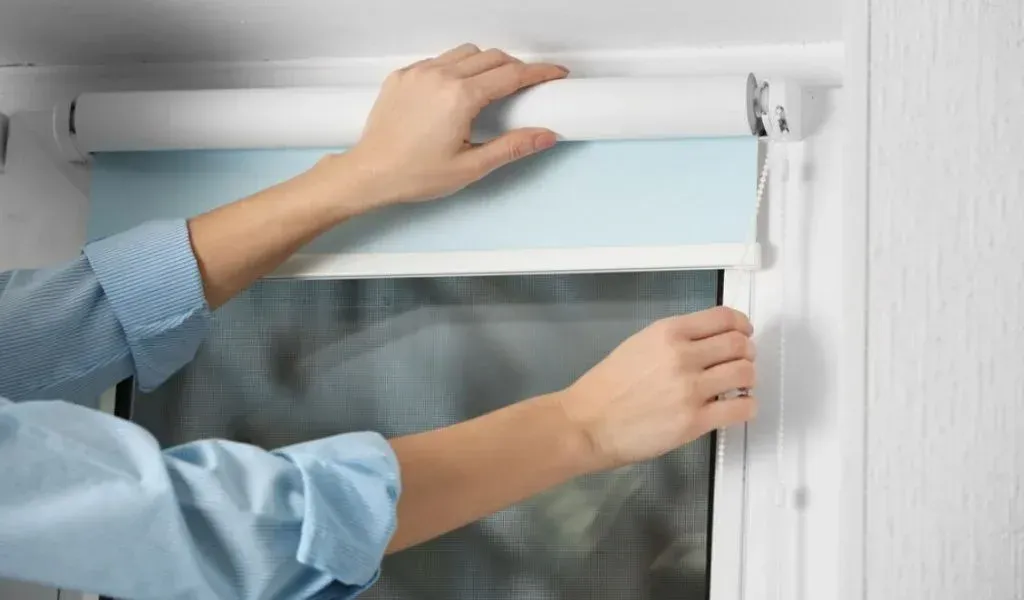
Installation Readiness and Final Checks
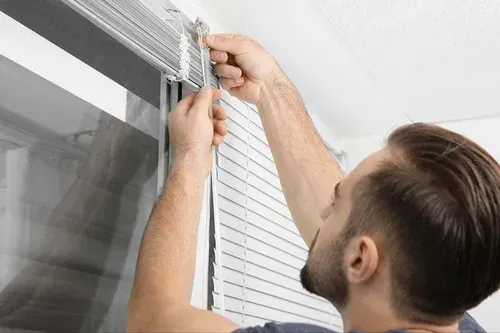
After measuring, make sure your window area is ready for installation.
Preparation checklist:
- Remove existing
window treatments.
- Clean the mounting surface.
- Verify hardware requirements.
- Double-check measurements one last time.
Taking these steps ensures a smoother installation and a professional finish.
Need to setup a Repair Appointment?